BVC 5 - How To Create a Theme
The BV Commerce 5 plug-in architecture easily allows users to create new business objects and integrate theme easily into their store.
In this tutorial, we’ll take a look at creating a new theme for our BV Commerce 5 store. This tutorial will assume that you have basic HTML and CSS knowledge.
To begin, we’re going to download the freely available Microsoft Visual Web Developer 2005 Express edition. This product will easily allow us to open and edit our store.
http://msdn.microsoft.com/vstudio/express/vwd/
Once you’ve downloaded and installed VWD (Visual Web Developer), open the application from your Start Menu. Once opened, select File > Open > Web Site. Navigate to the local copy of your website. Typically this is located at the following path:
C > Inetpub > wwwroot > Site Name
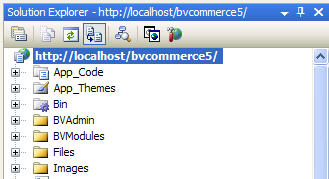
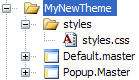
Using the “Solution Explorer” located on the right side of the page (pictured above), expand the “BV Modules” folder. Right click on the “Themes” folder and select “New Folder”. Give this folder a name. This name will be the name of your theme.
Notice each theme in BVC 5 has its own folder.
BVC 5 uses .NET Master pages to control the themes presentation. Master pages provide the ability to apply a consistent formatting across the entire website or for sets of pages.
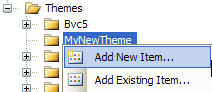
To begin, right click on your newly created folder and select “add new item”.
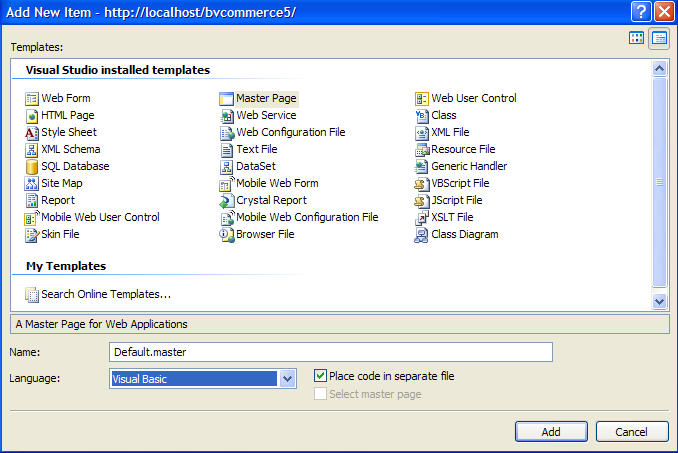
Select "Master Page" from the templates list (view example below). Give it a name of "Default.Master".
Repeat the same steps, adding a new master page called “Popup.Master”.
These two master pages are the only two required by BV Commerce 5. While you can create more, we’ll only look at these two for this tutorial.
Modifying our Master page
The next step requires us to modify our Master Pages.
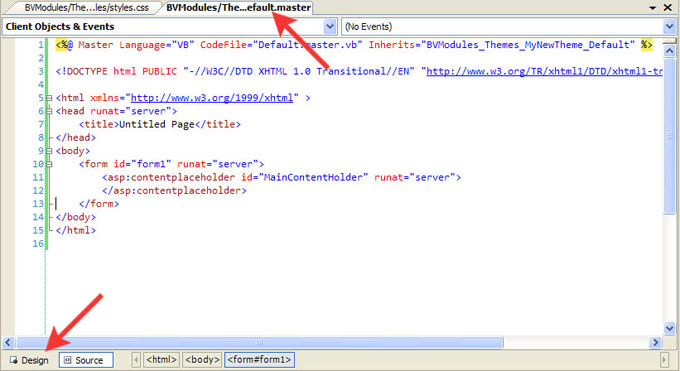
1. Double click on “Default.Master”. This will open the Master Page’s HTML view.
2. Locate the following line:

3. Change the ID "ContentPlaceHolder1" to "MainContentHolder" (pictured below).

4. Repeat the same steps for the Popup.Master file.
5. From the main toolbar of Visual Web Developer Express, select File > Save All
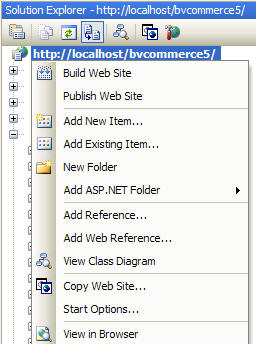
6. Right click on the URL located in the “Solution Explorer”. Select “View in Browser” (pictured below).
This shortcut allows you to easily open your website in Internet Explorer. Navigate to the admin area of your store. From the Options > Themes page, select your newly created theme from the drop down list. After saving your changes, click the "View In Store" button.
Notice the site looks bare, without any visual formatting. This is because we haven’t added any styles to our master pages.
Now we’re going to add some styles to make our store look more like a normal website.
To begin, let’s create a new folder under our new theme folder.
Using the Solution Explorer, right click on the theme folder and select “New Folder”. Name this folder “styles”. Right click on this folder and select “Add New Item”. Select “Style Sheet” and name this item “styles.css”. Save your changes.
Navigate back to the "Default.master" page.
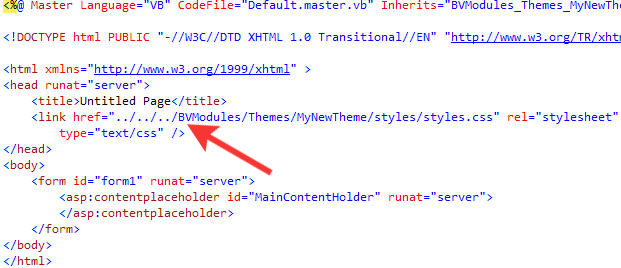
Select the “Design” view button. Use your mouse to “grab” your “styles.css” file from the Solution Explorer and drag it onto the page outside of the Content Box that appears on the page. This easily allows us to associate our style sheet with our master page.
Navigate back to the “Source” view for the page by clicking the “Source” button located next to the “Design” button we just clicked. If you've added the style sheet correctly, your HTML should look like the following:
Now let's add some HTML that we can then style using CSS (Cascading Style Sheets).
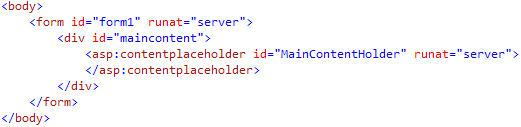
To begin, let’s wrap our ContentPlaceHolder with a “div” tag and give it an ID of “maincontent”.
Now let’s add some styles to our Style Sheet. You can copy the following directly from this text and paste it into your style sheet:
body {margin:0;padding:0;font-size: 13px;color: #000;background-color:#fff;font-family: Arial, Verdana, Sans-Serif;}
/* content */
#maincontent {margin-top:10px;margin-bottom:0;margin-left:auto;margin-right:auto;width:780px;}
/* home page */
#homepagecolumn1 {width:175px;float:left;}
#homepagecolumn2 {width:430px;float:left;}
#homepagecolumn3 {width: 175px;float:left;}
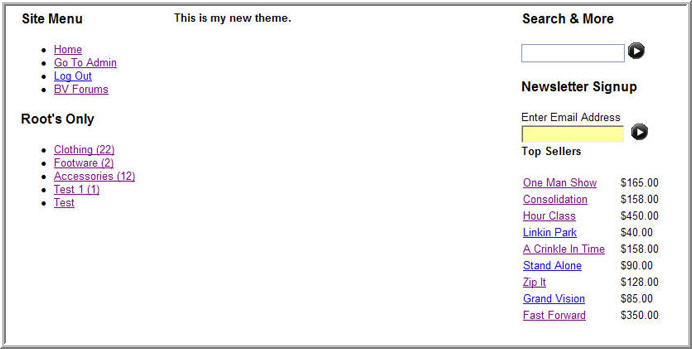
As you can see, with a little bit of styles added above, our site is beginning to take some form:
In Part 2 of this tutorial, we’ll take a look at adding a header and footer control to our Master page. We’ll also add some more color and styles.
Part 2